
Easy to Use Print Management Software
PrintLimit® LLC provides print management solutions for businesses and educational facilities of all shapes and sizes. Regardless of whether you’re managing a Fortune 500 company or own a small business with merely a couple of workers, we’ve got the simple, easy-to-use print management software that allows you to monitor all printing activity, handle charge-backs, control who is printing, how much is being printed, and identify the cost of printing across your entire organization.
 "For
auditing purpose, we implement PrintLimit Print Tracking to
track around 400 printers in which 150 are set up locally
with USB, parallel or TCP/IP port. Other is set up
on print servers which are shared. PrintLimit has
allowed us to effectively record all of our print jobs, make
it easier to deal with document output, reduce costs, and distribute
expenses consequently. We have been satisfied with PrintLimit."
"For
auditing purpose, we implement PrintLimit Print Tracking to
track around 400 printers in which 150 are set up locally
with USB, parallel or TCP/IP port. Other is set up
on print servers which are shared. PrintLimit has
allowed us to effectively record all of our print jobs, make
it easier to deal with document output, reduce costs, and distribute
expenses consequently. We have been satisfied with PrintLimit."
- Roger Getzmann, Coca-Cola, Switzerland
 "PrintLimit Print Tracking has done a tremendous job on our college campus
of lowering printing costs. We evaluated several different print
manager software, and PrintLimit’s was certainly the best solution for
all our needs. Their technical support has continued to assist us to customize their product, and the paper and toner savings are
more than spend on the application in less than a year. In accordance
with the good results of PrintLimit’s program, we are planning on using
this program on two print servers, more than 1000 computers,
and 10 independent labs at CNM."
"PrintLimit Print Tracking has done a tremendous job on our college campus
of lowering printing costs. We evaluated several different print
manager software, and PrintLimit’s was certainly the best solution for
all our needs. Their technical support has continued to assist us to customize their product, and the paper and toner savings are
more than spend on the application in less than a year. In accordance
with the good results of PrintLimit’s program, we are planning on using
this program on two print servers, more than 1000 computers,
and 10 independent labs at CNM."
- Francis Heise, Central New Mexico College, USA
 "We
have been progressing nicely with the PrintLimit Print Tracking, and we
are very pleased with it. We now can help students with
research or school work instead of just dealing with the printers.
It has really made a tremendous impact on the library. Students
like it too. It prevents a few students from abusing the library
privileges. We are no longer kinkos clerks--we are real librarians."
"We
have been progressing nicely with the PrintLimit Print Tracking, and we
are very pleased with it. We now can help students with
research or school work instead of just dealing with the printers.
It has really made a tremendous impact on the library. Students
like it too. It prevents a few students from abusing the library
privileges. We are no longer kinkos clerks--we are real librarians."
- Jeff Davis, Librarian, USA
 "Thanks
for the free trial of PrintLimit Print Release Station. We are really
happy with it. I'm not sure if I could have justified investing the money if I could not see it in action. I know that already
we've saved on many, many copies that patrons were just walking
off with as well as copies they looked at, didn't like, and
then threw away. I truly appreciate that companies like yours
create inexpensive solutions for small libraries. I started
out looking at some very costly release station systems, and
it was excited to find yours."
"Thanks
for the free trial of PrintLimit Print Release Station. We are really
happy with it. I'm not sure if I could have justified investing the money if I could not see it in action. I know that already
we've saved on many, many copies that patrons were just walking
off with as well as copies they looked at, didn't like, and
then threw away. I truly appreciate that companies like yours
create inexpensive solutions for small libraries. I started
out looking at some very costly release station systems, and
it was excited to find yours."
- Mary Chasseur, James E. Wickson Library, USA
 "The
Release Station has made a big impact at The American University
of Rome. Before installing Release Station our printing system was
very unreliable resulting in excessive paper waste. Now we run three
user-mode "Release-Stations" in two computer labs. Our paper waste
has decreased by 40% when compared to figures of three years ago,
notwithstanding a 20% increase in our student body. The American
University of Rome now has 550 students from all over the world,
and we will continue to use Release Station to manage our printing
services."
"The
Release Station has made a big impact at The American University
of Rome. Before installing Release Station our printing system was
very unreliable resulting in excessive paper waste. Now we run three
user-mode "Release-Stations" in two computer labs. Our paper waste
has decreased by 40% when compared to figures of three years ago,
notwithstanding a 20% increase in our student body. The American
University of Rome now has 550 students from all over the world,
and we will continue to use Release Station to manage our printing
services."
- Salvatore S., American University of Rome, Italy
Select Your Industry


Assess Your Saving

Work with Any Brand

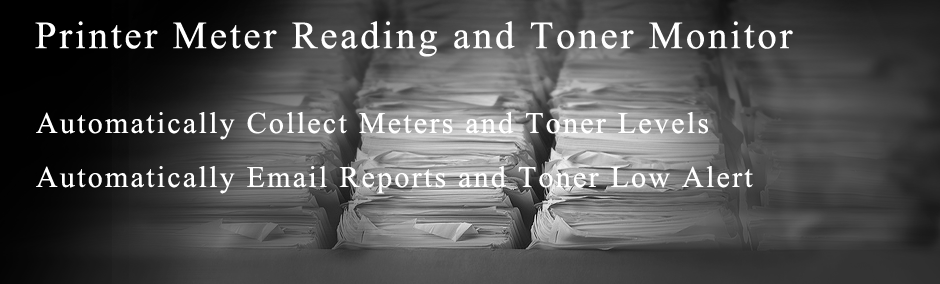
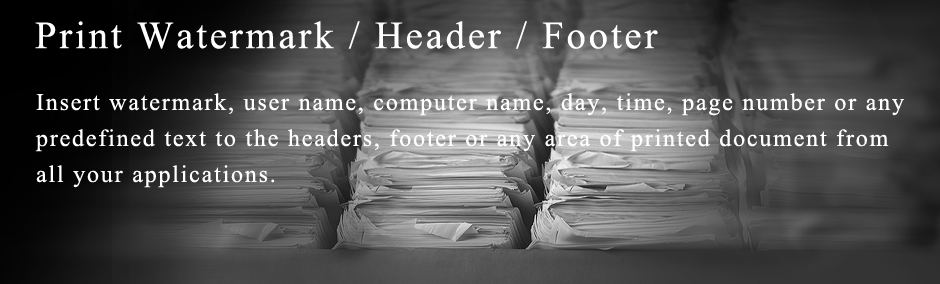
Key Features